Sunday, 27 February 2011

List Of Morpher Targets

List of initial Morpher targets:

-Neutral


- "Boop Boop Boop " (reversing sound) mouth positions. (really big pout would be funny/cool to look at from a side on angle)


- Scowl


- Mouth Shut


- Less Smile (than neutral)


- Tight lipped (to accompany the scowl) (also used to show straining)


- Right/Left eyebrow raised


- "Evils" eyebrows (left and right eyebrow separately)


Cars Body language - storyboard relevant

the forklifts in this clip use the forks as arms to emphasize their emotions. the movements and jerky due to the stiff suspension, and mainly use the eyes to show their emotions.
tilting the body forwards on the axles gives a very annoyed feel with the body language.

raising the body on the front axel simulates the raised chin effect mentioned on my moodboard.
the eye lids are used to great effect to suddenly change the mood of the character.

body language & facial expressions mood board - storyboard related


anger is a strong emotion i hope to portray in my animation. this picture helpfully annotates the different aspects of the facial features.


surprise - raised eyebrows wide open eyes. and an open mouth.


confidence and pride - smile, head tilted backwards with chin held high. smile causes the eyes to be partially closed.


extreme anger - scrunched up nose, clenched jaw and cheek muscles. eye brows ruffled and downward. mouth snarling.


evil eyes. neutral mouth/nose position. head tilted forwards, eyebrows lowered, slightly looking upwards.


confident - wide smile, slightly raised eyebrows, head slightly tilted forwards.


confident - standing tall, high chin, looking up, broad shoulders, puffed chest


frustration - clenched jaw showing teeth, wide eyes, slightly dropped eyebrows. scrunched nose.


pride - high chin, broad body posture, puffed chest.


anger - scrunched eyes nose and mouth, showing teeth. leaning in toward subject of anger.


childish anger - dropped eyebrows, slight scrunch of the nose, pout, head tilted forwards and rotated slightly, almost looking through the eyebrows.


pride and confidence - slightly raised chin, neutral smile, solid body stance, slightly lowered eyebrows.


confidence shown in this video, is greatly portrayed through the body language.
While walking there is a swagger from side to side, and a purposeful movements. the facial expression is wide smiles with neutral eyes and nose and slightly raised eyebrows.

the confidence in the video is firstly portrayed with the character leaning backwards emphasizing the raised chin. the body language also is large and bold, again with a swagger and side to side movements while walking.

this walk sequence is very jerky but the steps feel purposeful and the confidence is brought through with this.

body language - storyboard related

Body Language Signs Of Anger And Resistance

Their fists are clenched.
Their hands or feet are tapping.
One hand is clutching the other hand, arm, or elbow.
Their arms are crossed over the chest.
Their eyes are blinking constantly.
Collar pulled away from the neck, like letting some air in during a hot day in the summer.
They kick the dust or air.
Their arms are vertically placed on the table while the hands are gripping the edge. Beware when they do this because it might mean something like You better get this done or else! or Better listen or youll regret this!


Body Language Signs Exhibiting Confidence/Authority and Power

They maintain firm eye contact and rarely looks on other body parts underneath the nose.
They speak with a low-pitched, slow-paced, downward-inflected voice.
Chin tilted upwards.
Chest projected outwards.
They maintain an erect posture, whether standing or sitting.
They sit in reverse, with the back of the chair serving as their support or shield. People who sit in this position are known to be bossy and aggressive.
Their hands are clenched behind the back.
Their hands are placed beside the hips.
They have a firm handshake, palms pointing downwards.
They lean back with both hands supporting the head.
They move with precision and with no hesitation.
They walk solidly with forceful arm swings.

Model Details Omited From The Creation Process.

i will list a few aspects of the modelling process that are important and will help my character be more realistic.

as there is one eye ball but two eyes i have tried to reinforce the separation with the eyebrows and the bottom of the eye socket. there are 2 eyebrows one on each side unlike mike who only has one central eyebrow. i should also be able to use this with morpher to help emphasize facial emotion. at the bottom of the eye socket i have create a faux nose bridge to help the separation much like the nose is between both of our eyes. again i will use morpher to help with the facial emotions.

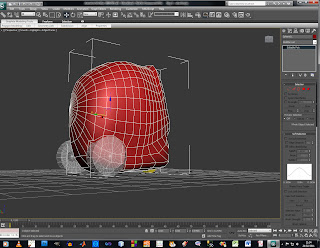
the body of the forklift isnt exactly symetrical and is a similar shape to a skull, with the line of the wheel arches being similar to the jaw line on a human/animal head.

i have created the eyelids as separate objects to be able to independently move them and have more control. using morpher to use the car body would have looked unrealistic and not enabled me to have eyebrows to help with facial expressions.

the pistons on the rear of the forklift all move an equal distance allowing a fluid and lifelike movement. the forks are skinned to work like arms and hands.

Saturday, 26 February 2011

Modelling Pt.3


using the percentage on path attribute i used a float expression to modify the position of the suspension anchor when the wheel is moved. the move its moved the more the effect.


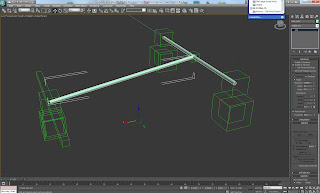
i then linked the two axles down the middle of the truck so the body can be effected when the supsension moves.


another dummy is then created to link the truck body.
orientation constraints are used to affect the box.


as the truck only has 1 front wheel i created another dummy and streched it to symbolise a front axel even though it is a static box.
i think i missed this out last time which cause the problems.


an ik solver is used to average the body momentum movements to help it look more realistic.


i then created a spline arc and increased the thickness to create a handle to control the drift. all the other componants were then linked to it.


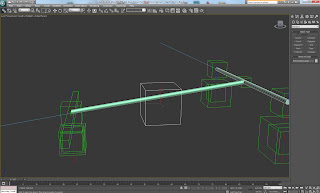
due to the centre axel not being horizontal i had to rotate the pixot point to correctly align it to the front wheel.


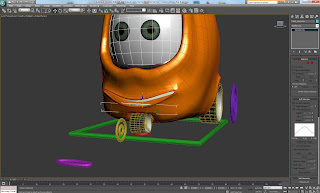
the suspention works nicely affecting the body pitch and roll when the wheels are moved.


i then create a dummy and aligned it with the steering hub dummy, this is the controller to steer the front wheel.


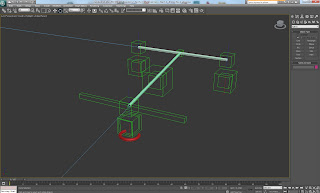
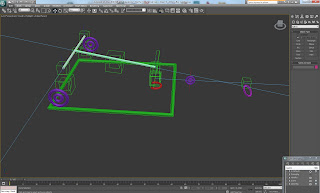
I then created a root, steering and momentum handle to control the movement of the rig
the root is the main handle that all the others link too.


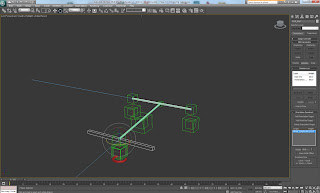
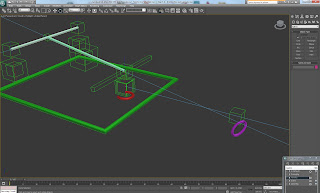
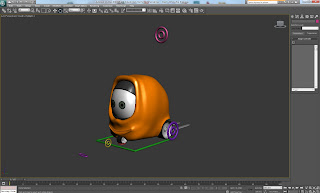
i then copied the wheel travel line and linked a donut spline to it. these are then wire parametered to the wheel hubs to allow me to select and move the wheels height more easily.


on the root spline addad a variable holder modifier and created some variables to put into there.
these are then used to controll the wheel rotation speed.


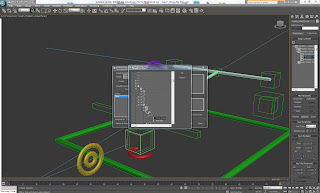
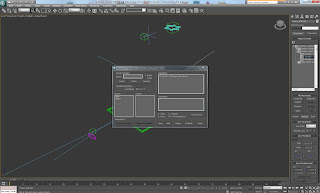
this scary looking window links the variables by a mathmatical calculation to rotate the wheel.


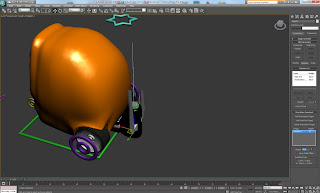
rig complte. now for the testing of the mesh.


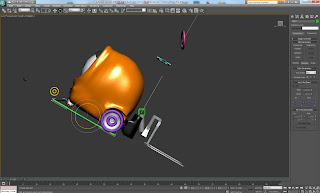
as the vasy majority of the rig is linking some times you get undesired behavior. when rotating the root the forks werent following the rotation


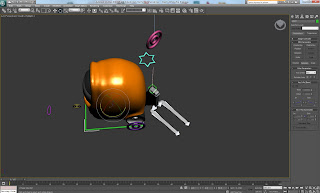
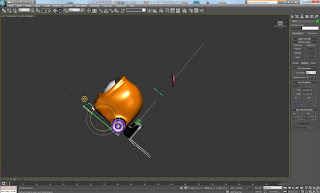
as you can see rotating the root 180 the forks are actually underneath the mesh which is not the desired effect.

this is fixed with a simple orientation constraint,


when rotated the bones of the forks were misbehaving and the handle for the lift was rotateting (this is more of an aesthetic problem)

again this was fixed with a simple orientation constriant.


bones fixed!


i added some teeth to the mesh as the mouth seemed a bit wide and empty

Friday, 25 February 2011

Modelling Pt.2

my first attempt to add bones tot he model of the forks i didnt inclue bones to link the vertiacal parts to the fork arms, so i used some connecting bones to link them. these work very well almost as sholders, i may be able to use them to produce a shrug type movement.


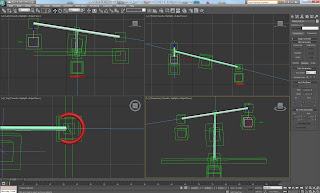
now i will start building the driving rig. tutorial link click here
(note this tutorial is for a 4 wheeled vehical.)
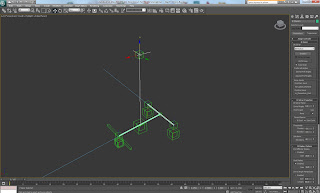
i ensured i had the poivot points of the wheels in the center of the wheels. i then created a dummy for each wheel. and aligned them. this first dummy was the wheel hub, i then scale copied this so the box was large to create a dummy for the actual wheel. with mechanical rigging you create the ring and link the different mesh parts to it. which makes it very flexible and easy to ammend

after going most of the way through the tutorial
something in the rig broke and i couldnt work out what, so i deleted most of it adn started again with the basic componants.

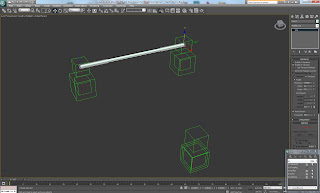
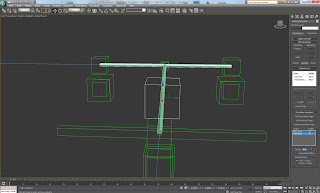
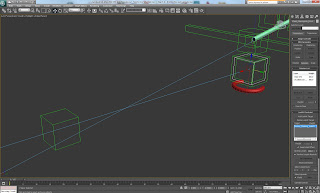
the front wheel has an additional dummy for the steering hub. the individual dummies on the top are the suspention anchors.

Thursday, 24 February 2011

Modelling Pt.1-2


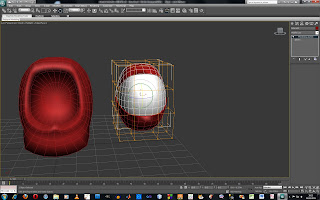
i then rotated the eye lids to a "neutral" possition
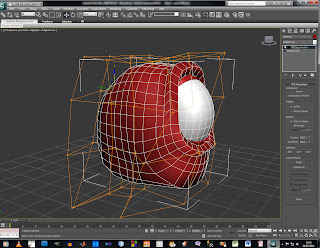


and aligned them back with the body,
i then used the fdd box on the body to shape the body around the eye a bit better.
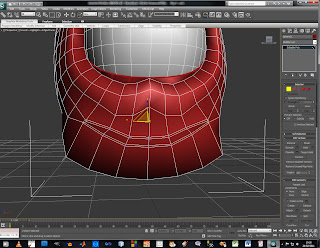


i selected the edges where the mouth is to go and chamfered them to enable me to create lips by a simple extrude
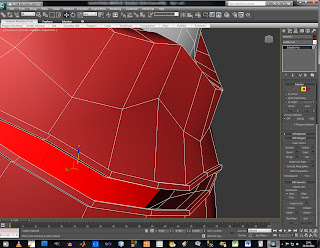


i possitively extruded the polys in the place of the lips and negatively extruded the polys for the mouth box. i extruded in a few steps so that if i could select the edges in a loop and scale them to create a more effective mouth box.
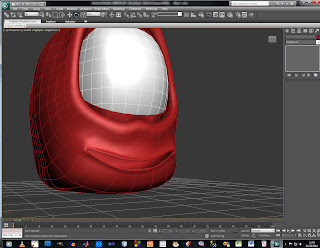


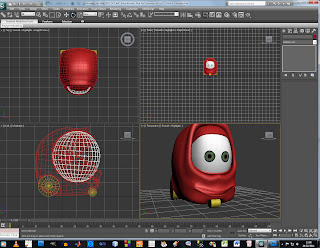
i think the character so far looks quite effective now for the wheels.
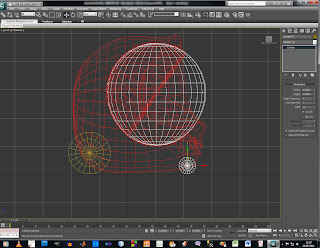


initially i created some very basic wheel to mock up the size and possition. once i was happy i moved them inward to then create the wheel arches
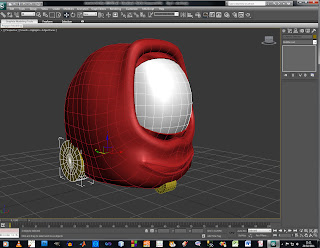


i wanted the wheels to be quite large like on real fork lifts.
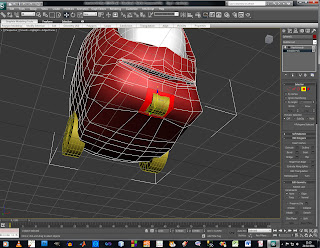


where the front wheel intersected the mesh i selected the polys and extruded into the body mesh
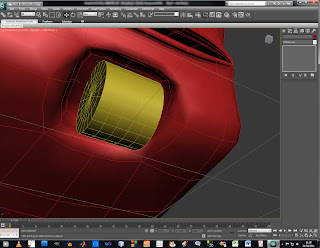


i made the rear wheels see through (alt+x) so i could use the same process as there are more polys at the back it was more difficult.
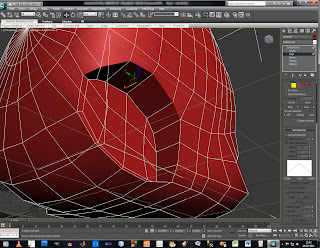


i then negatively extruded and tweeked the verticies to create a more smooth shape.
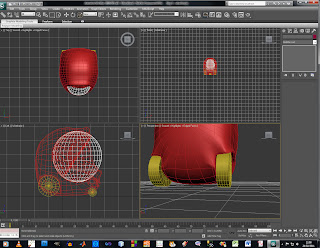


i then chamfered the outer edge to create a flaired wheel arch. to fully encase the wheels and allow them to be wider.
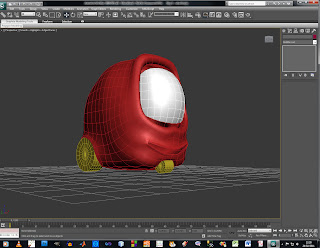


this is the basic model finished.
now to make the model individual and more detailed.


i uvw unwrapped the eyeball and put the eyes in, this took alot of trial and error to get the correct possition, width, size, but i think the result is worth it. i also added a slight specular level and glossyness to create a more realistic eyeball.
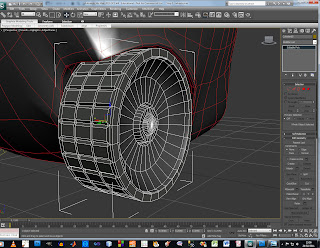


i added more detail to the wheel by seleting all the horizonal and vertical lines on the "tire" and chamfering with 2 segments, i then moved the new middle line inward to create the tire tread.
i also added some detail to the wheel hub by connecting the spoke like lines and scaleing/moveing to create the shown shape.
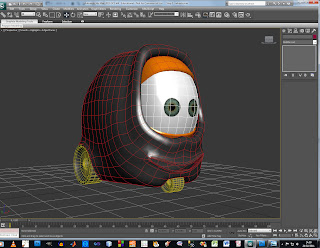


i added some advanced materials (i created for a private project over xmas, and stored in an external material "library" to use in the future) to the differnt objects in accordance to the colour sceme i outlined in a previous post. (these arnt set in stone just to help visualise) the eye lids and body have a carpaint like texture, the wheel hubs are chrome, the tires actually have a fabric texture but looks very effective as rubber.
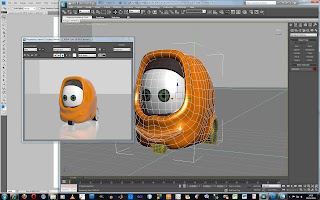


i swapped the colours of the body and eye lids as it made the character a bit dark, here is an initial render.
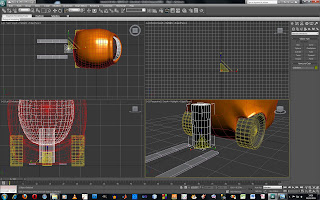


i then created the forks and piston cylinder.
i wasnt sure how to connect the cylinder to the body to i looked back at the RXX concept, there seems to just be 4 mounting arms that directly attach the cylinder to the body.
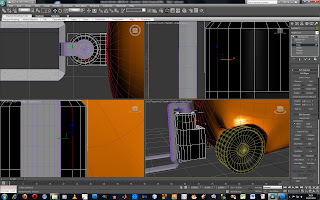


i created a block that extrudes from the cylinder to then create the mouting arms.
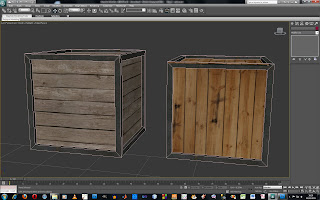


i got a bit bored of the character creation and decided to retexture some crates
i created for my game, they are basic boxes that inset the polys and extruded inwards.
with a metal texture and 2 wooden textures for the panels i added the same image as a bump map to add a little more detail.


the forks in possition and linked to the trucks body.


now to rig the piston and bone the forks.


i aligned the 3 sections of the piston and raised each to the maximum height that is possible.
i then created some dummies to link the sections to and aligned then with the piston sections "Maximum". i then created lines to path contrain these dummies to. each line was the exact length of the travel of the piston.


when the top piston is moved the rest need to move an equal distance along their own path
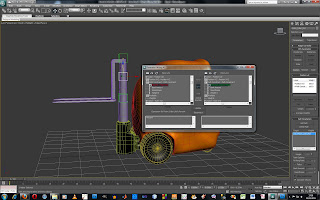


to do this i have wired the parameters of the percentage along path to the top piston for the bottom 2.
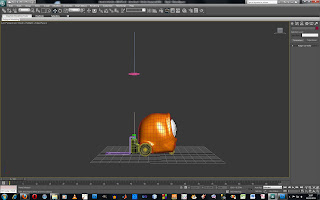


for ease of use i added a handle above the truck to coinside with the driving rig i will be building next.
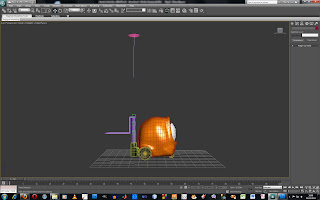


i rewired the parameters to the handle percentange for each piston section and it works as intended. i then linked the lines to the piston cylinder to follow the truck if it moves.


i then created bones in the forks to allow me to animate them.