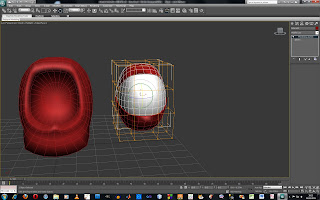
i then rotated the eye lids to a "neutral" possition
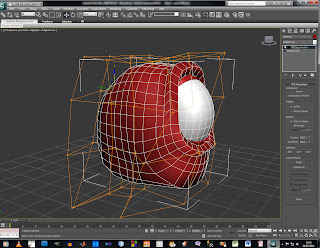
and aligned them back with the body,
i then used the fdd box on the body to shape the body around the eye a bit better.
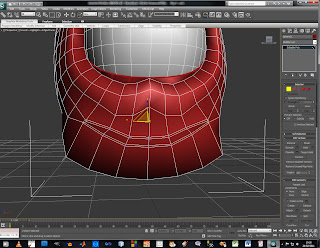
i selected the edges where the mouth is to go and chamfered them to enable me to create lips by a simple extrude
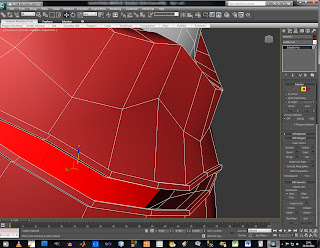
i possitively extruded the polys in the place of the lips and negatively extruded the polys for the mouth box. i extruded in a few steps so that if i could select the edges in a loop and scale them to create a more effective mouth box.
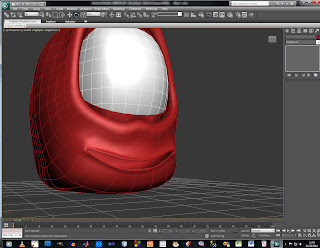
i think the character so far looks quite effective now for the wheels.
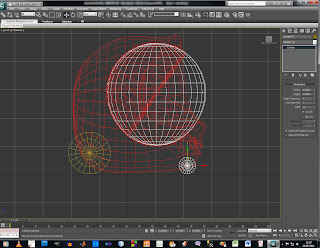
initially i created some very basic wheel to mock up the size and possition. once i was happy i moved them inward to then create the wheel arches
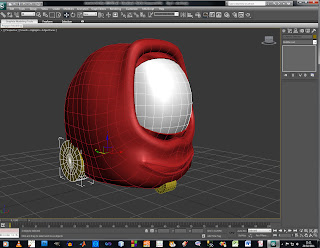
i wanted the wheels to be quite large like on real fork lifts.
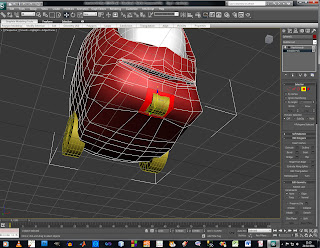
where the front wheel intersected the mesh i selected the polys and extruded into the body mesh
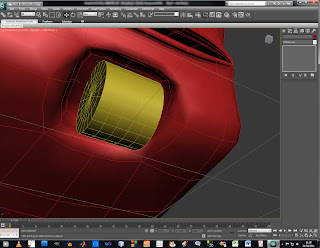
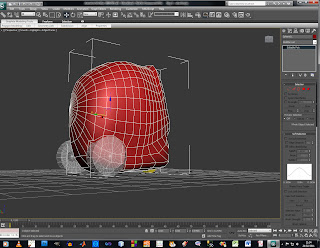
i made the rear wheels see through (alt+x) so i could use the same process as there are more polys at the back it was more difficult.
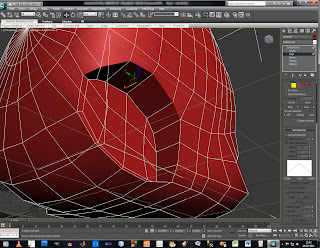
i then negatively extruded and tweeked the verticies to create a more smooth shape.
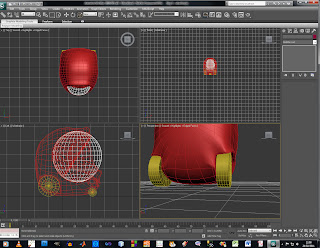
i then chamfered the outer edge to create a flaired wheel arch. to fully encase the wheels and allow them to be wider.
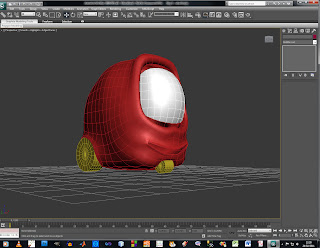
this is the basic model finished.
now to make the model individual and more detailed.
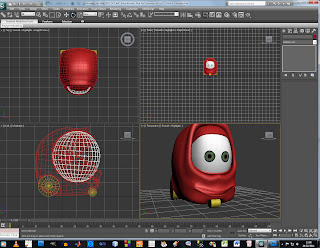
i uvw unwrapped the eyeball and put the eyes in, this took alot of trial and error to get the correct possition, width, size, but i think the result is worth it. i also added a slight specular level and glossyness to create a more realistic eyeball.
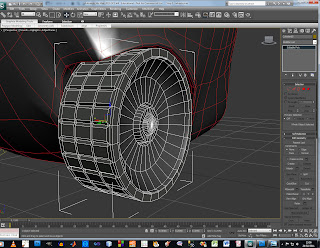
i added more detail to the wheel by seleting all the horizonal and vertical lines on the "tire" and chamfering with 2 segments, i then moved the new middle line inward to create the tire tread.
i also added some detail to the wheel hub by connecting the spoke like lines and scaleing/moveing to create the shown shape.
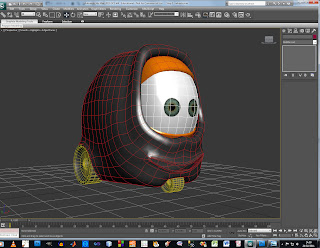
i added some advanced materials (i created for a private project over xmas, and stored in an external material "library" to use in the future) to the differnt objects in accordance to the colour sceme i outlined in a previous post. (these arnt set in stone just to help visualise) the eye lids and body have a carpaint like texture, the wheel hubs are chrome, the tires actually have a fabric texture but looks very effective as rubber.
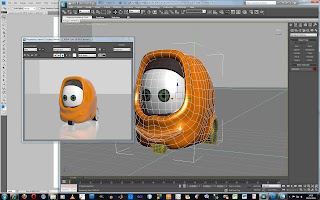
i swapped the colours of the body and eye lids as it made the character a bit dark, here is an initial render.
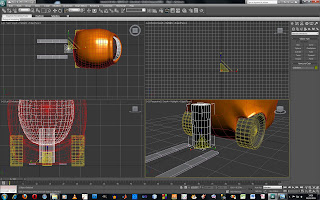
i then created the forks and piston cylinder.
i wasnt sure how to connect the cylinder to the body to i looked back at the RXX concept, there seems to just be 4 mounting arms that directly attach the cylinder to the body.
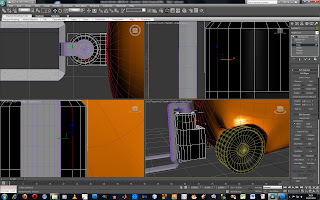
i created a block that extrudes from the cylinder to then create the mouting arms.
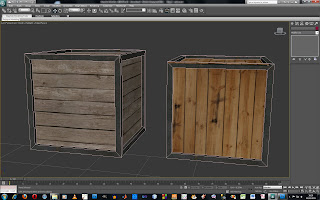
i got a bit bored of the character creation and decided to retexture some crates
i created for my game, they are basic boxes that inset the polys and extruded inwards.
with a metal texture and 2 wooden textures for the panels i added the same image as a bump map to add a little more detail.
i then created some dummies to link the sections to and aligned then with the piston sections "Maximum". i then created lines to path contrain these dummies to. each line was the exact length of the travel of the piston.
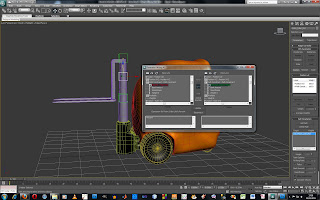
to do this i have wired the parameters of the percentage along path to the top piston for the bottom 2.
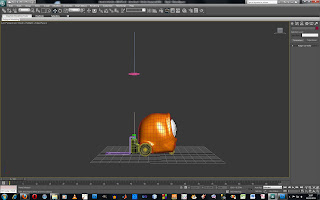
for ease of use i added a handle above the truck to coinside with the driving rig i will be building next.
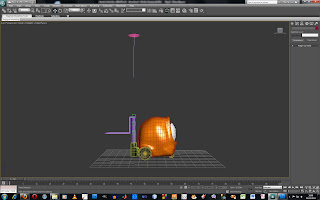
i rewired the parameters to the handle percentange for each piston section and it works as intended. i then linked the lines to the piston cylinder to follow the truck if it moves.


No comments:
Post a Comment